
- First Logic Gate project
- Workshop rooms and protected pedestrian doors
- Testing two inputs before building an airlock
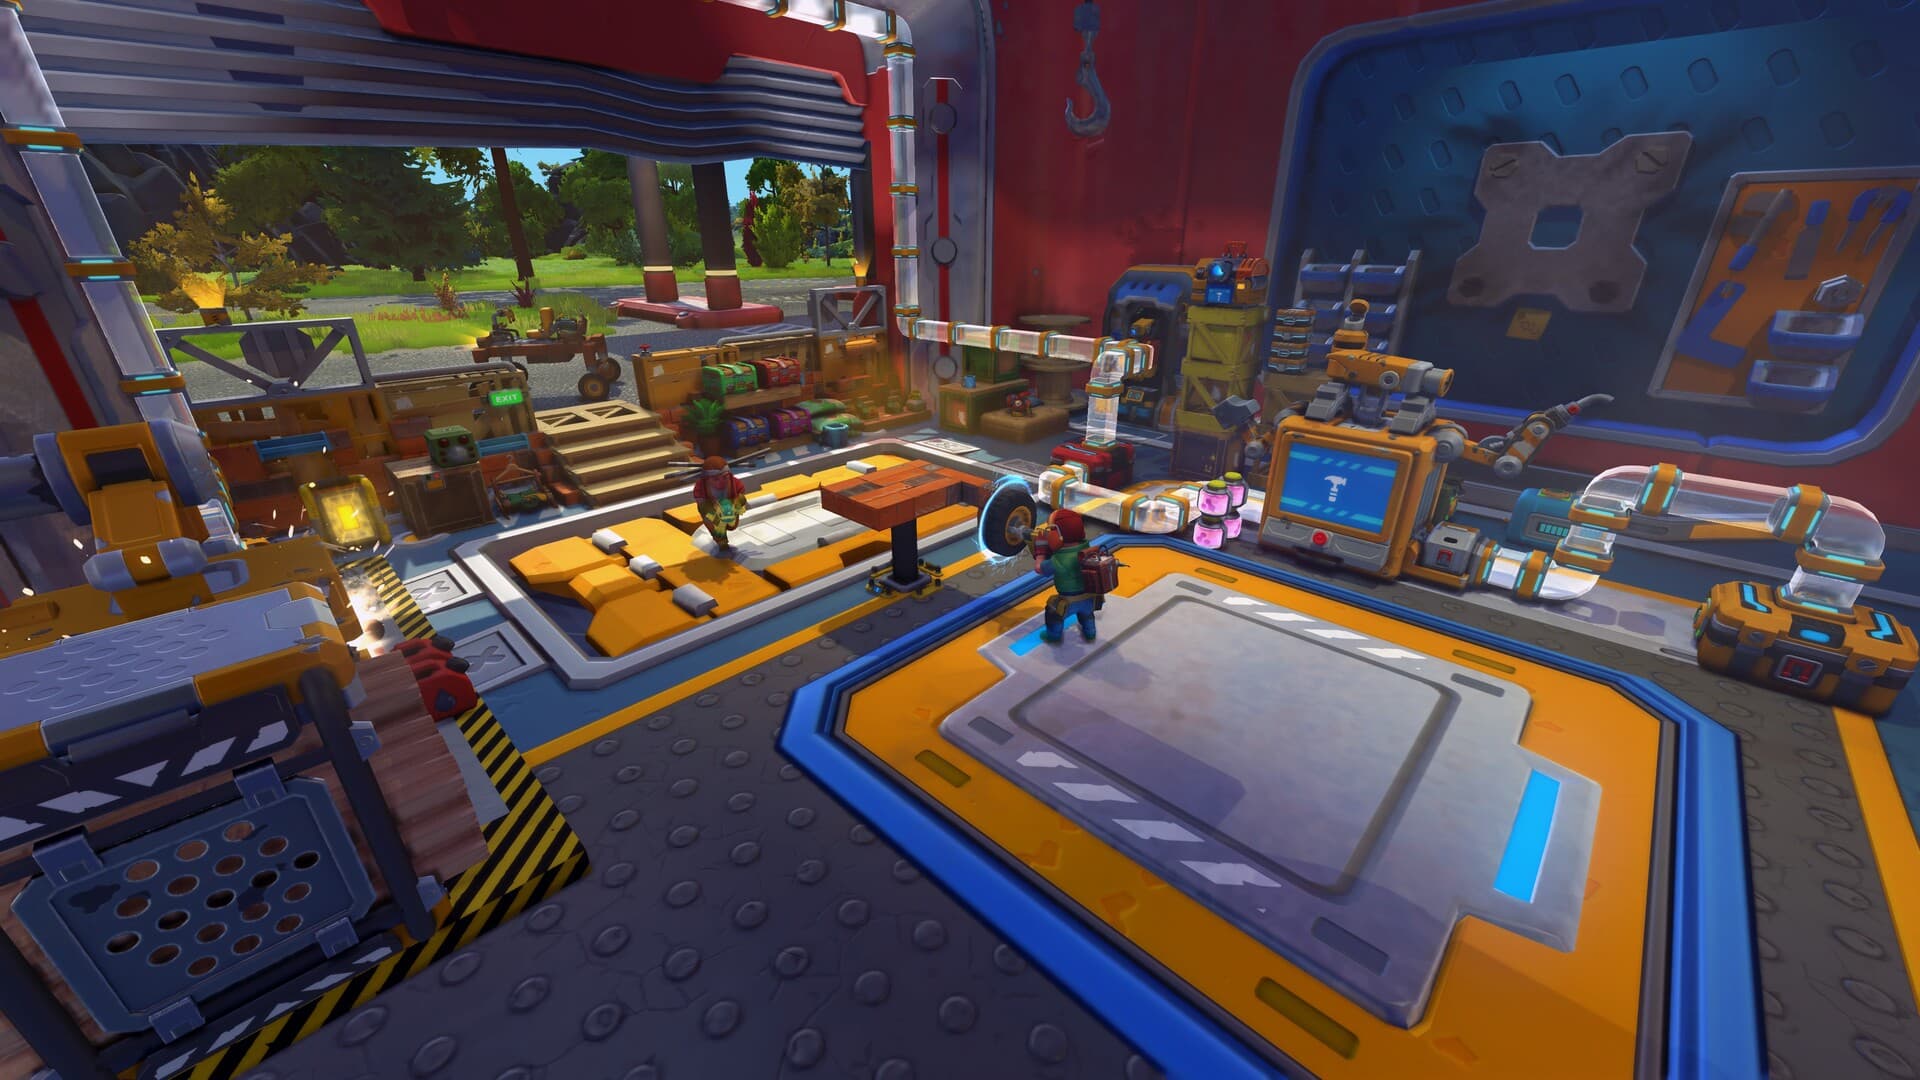
Workshop blueprint / LOG-05
Basic Logic Door - Open from Either Side
A small bearing door controlled from both sides, used to learn input states, one mechanical output, and an obvious reset.
First build20–30 minutes1 mechanicVersion 1.0
- The door must resist direct raid impact
- A vehicle needs to pass through
- The moving panel cannot clear players on both sides
Workshop baseline
Use these dimensions and targets for the first working version. They are a practical starting layout, not a fixed in-game preset; adjust them only after the baseline passes its tests.
Plan the craftable parts →- 01Opening
- 3 × 5 blocks
- 02Door motion
- 1 Bearing / 90° swing
- 03Inputs
- 2 Buttons
- 04Logic
- 1 OR Logic Gate
- 05Motion control
- 1 Controller
- 06Reset
- Return to closed
02 / Prepare the bench
Part manifest
The quantities below describe one baseline build. Optional parts are marked so you can prove the working system before spending on lighting, storage, or automation.
PartQtyJob in this buildPriority
Direct crafting cost
This total multiplies each listed part by its preferred Craftbot or Mechanic Station recipe. Processed materials and block recipes are shown as direct inputs instead of being expanded into every earlier production step.
- Craftable part types
- 6/6
- Station time
- 50s
- Input types
- 5
Combined direct inputsLOG-05


24 neededMetal Block Level 1
Craftbot3 batches · 15sAvailable from the start
Scrap Metal Block × 60

1 neededBearing
Craftbot1 batch · 5sAvailable from the start
Metal Block Level 1 × 1

1 neededController Level 1
Craftbot1 batch · 10sAvailable from the start
Metal Block Level 1 × 5Component Kit × 1Circuit Board × 5Glue × 1

1 neededLogic Gate
Craftbot1 batch · 5sTrader recipe offer
Metal Block Level 1 × 1Circuit Board × 1Glue × 1

2 neededButton
Craftbot2 batches · 10sAvailable from the start
Metal Block Level 1 × 2Circuit Board × 2

1 neededSwitch
Craftbot1 batch · 5sAvailable from the start
Metal Block Level 1 × 1Circuit Board × 1
04 / Build in testable systems
Construction sequence
Do not place the next system until the checkpoint under the current stage is true. That keeps steering, motion, power, and storage failures separate.
01
Build the hinge first
Prove the door leaf can move without logic.
- Mount one Bearing on the protected side of the opening.
- Build a light 3 × 5 leaf.
- Use a temporary Switch to test the full swing.
02
Set open and closed angles
Give the Controller two predictable positions.
- Connect the Controller to the Bearing.
- Set a closed position against a physical stop.
- Set an open position near 90° without over-rotation.
03
Combine two inputs
Let either Button request the same door action.
- Place one Button on each side outside the sweep.
- Set the Logic Gate to OR.
- Connect both Buttons to the gate, then the gate to the Controller.
04
Test all four input states
Confirm the behavior is defined rather than accidental.
- Test neither input.
- Test the outside Button only.
- Test the inside Button only.
- Test both Buttons together.
Workshop tools
Each tool below has a specific job in this build. Finish that job, then move to the next stage instead of wiring and tuning everything at once.


Connection map
Read each row from input to output. Name or color the physical controls to match this map before closing the bodywork.
Outside ButtonEntry request
→OR Logic GateInput A
Inside ButtonExit request
→OR Logic GateInput B
OR Logic GateShared command
→ControllerOutput
ControllerDoor movement
→Door BearingClosed / open angles
07 / Commission the build
Test bench
Run these checks with the normal load fitted. If one fails, make the listed physical change and repeat that same test before changing another variable.
TestPass conditionIf it fails
Four-state input
Every Button combination matches the plan
Trace inputs before changing the Controller
Obstruction test
Door stops against a safe physical limit
Reduce angle and move the Button out of the sweep
Reload state
Door state is understandable after returning to the world
Add a visible maintenance reset
Scenario variants
Change the proven baseline for the route or job you actually have. Every upgrade adds a tradeoff, so repeat the test bench afterward.
Use direct Button behavior without toggle memory
Simple and safe, requires holding or repeated use
Replace one Button with a Sensor
Hands-free, vulnerable to unwanted triggers
Replace Bearing with a Piston
Smaller sweep, needs straight travel clearance
Next workshop file
View all 11 blueprints →Compare another build
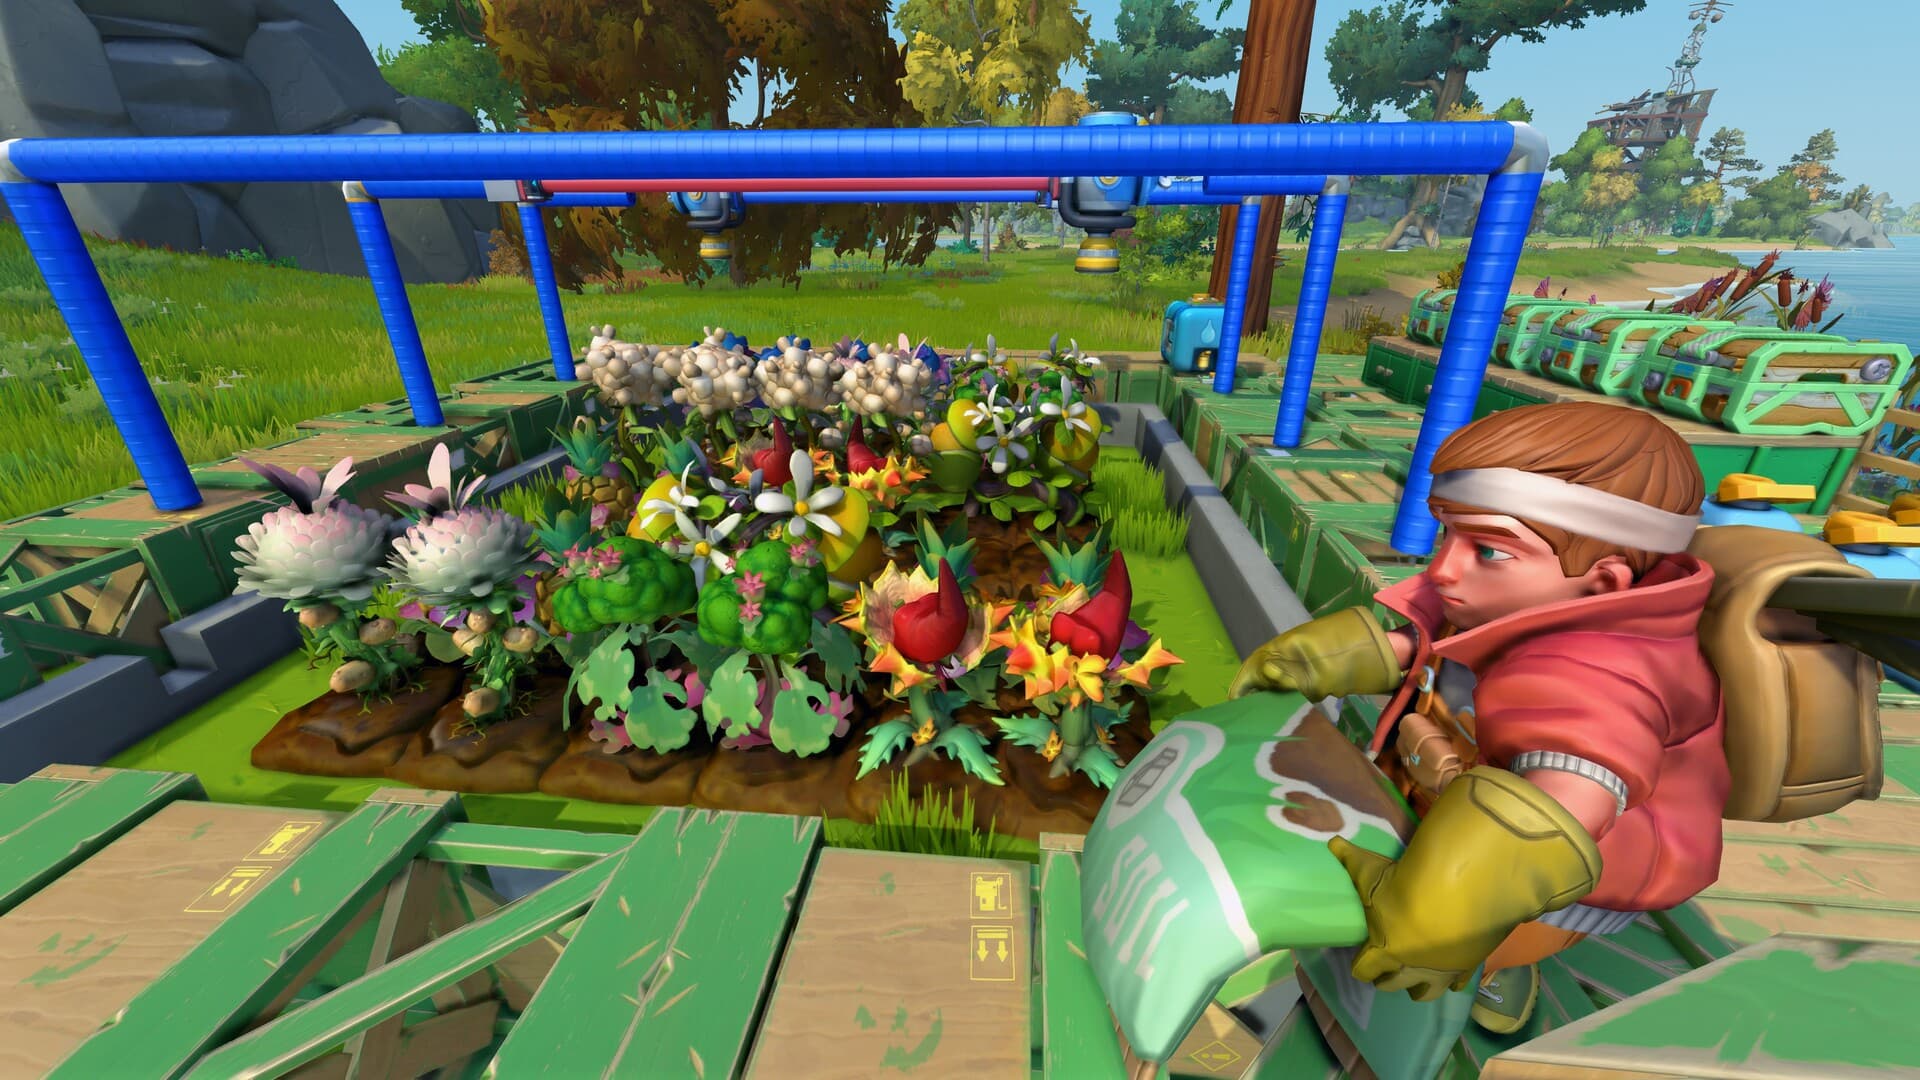
Farm Machines
Automatic Watering - A Repairable First System
Automate a small farm with a simple signal path and a watering arm you can inspect.
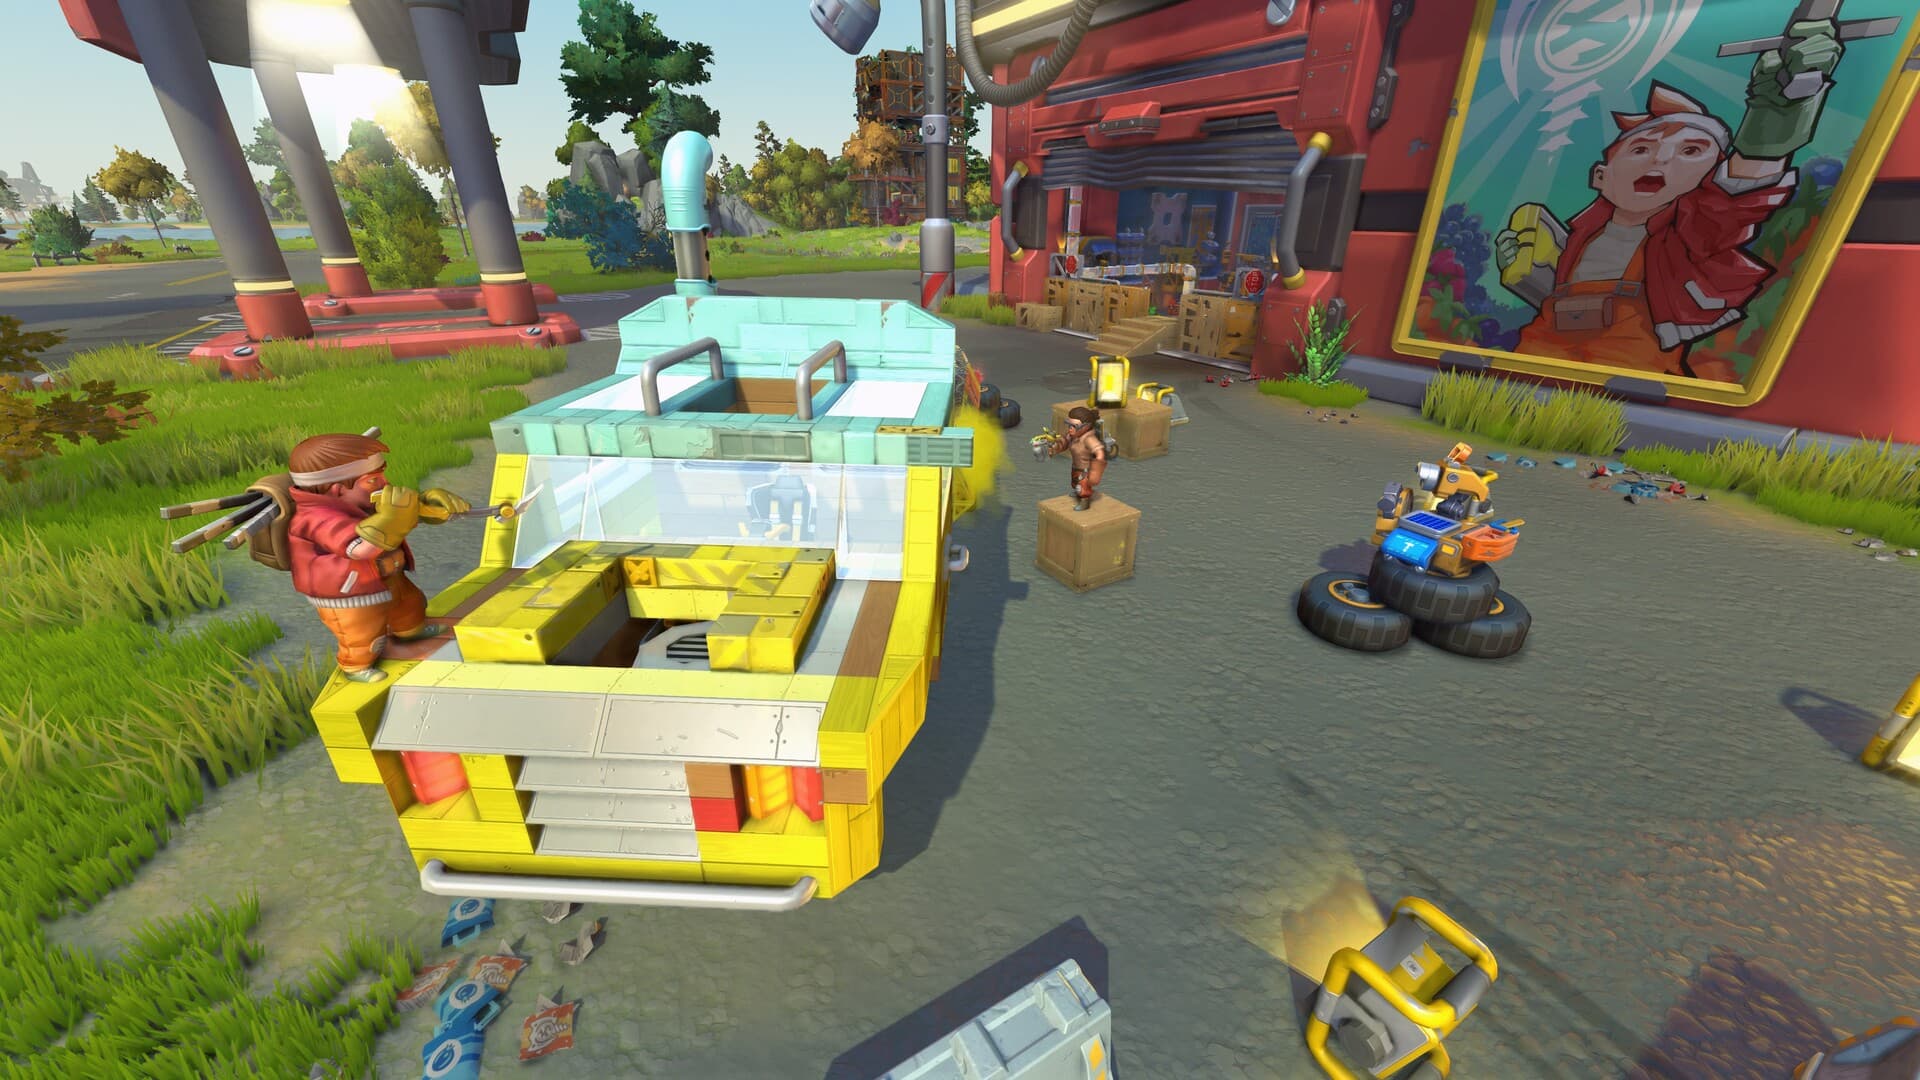
Vehicles
Starter Car - A Low, Repairable Chassis
A simple vehicle pattern built around clear connections, a low center of mass, and easy repairs.
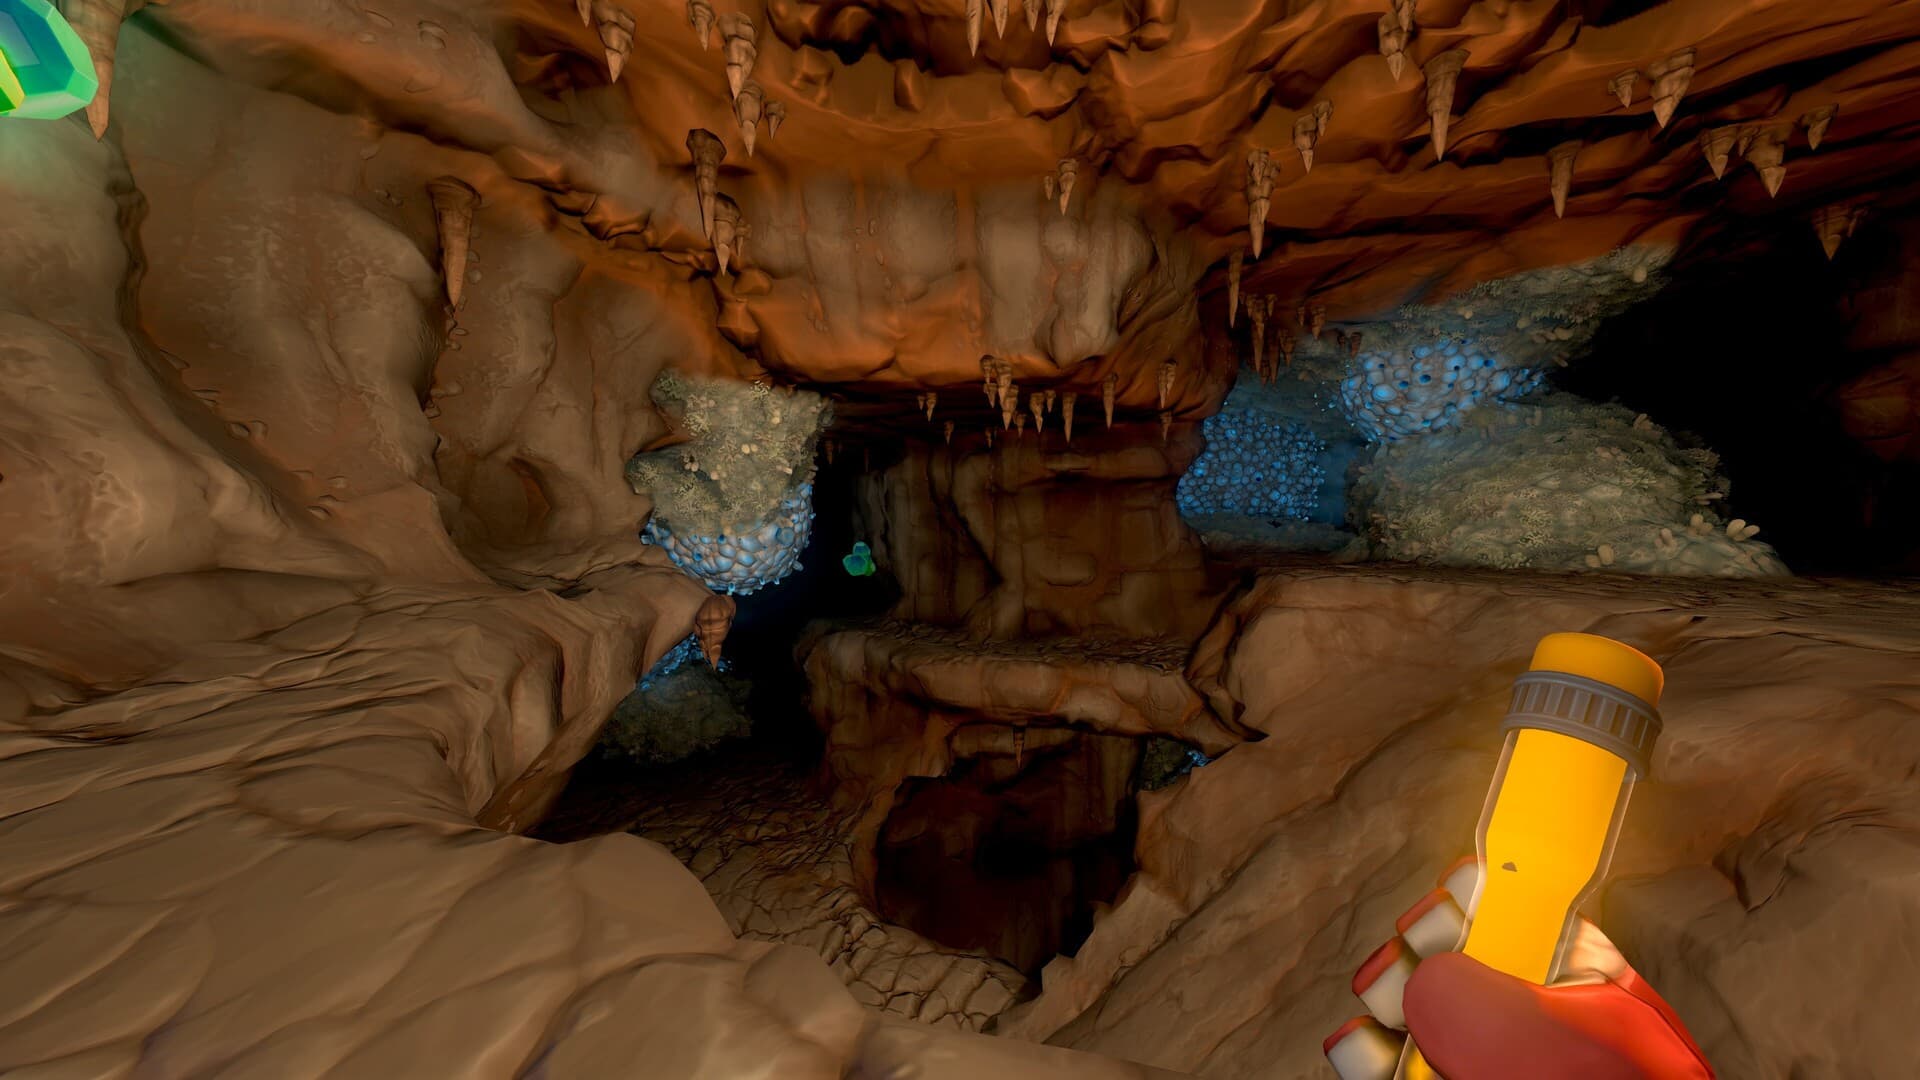
Mining
Mining Vehicle - Stable Tool Contact
Plan a mining vehicle around controlled tool pressure, frame strength, and safe collection.