Haybots and Green Totebots reaching crop rows
Base defense gate ↗Create a repairable outer lane and keep moving parts behind the first impact line.
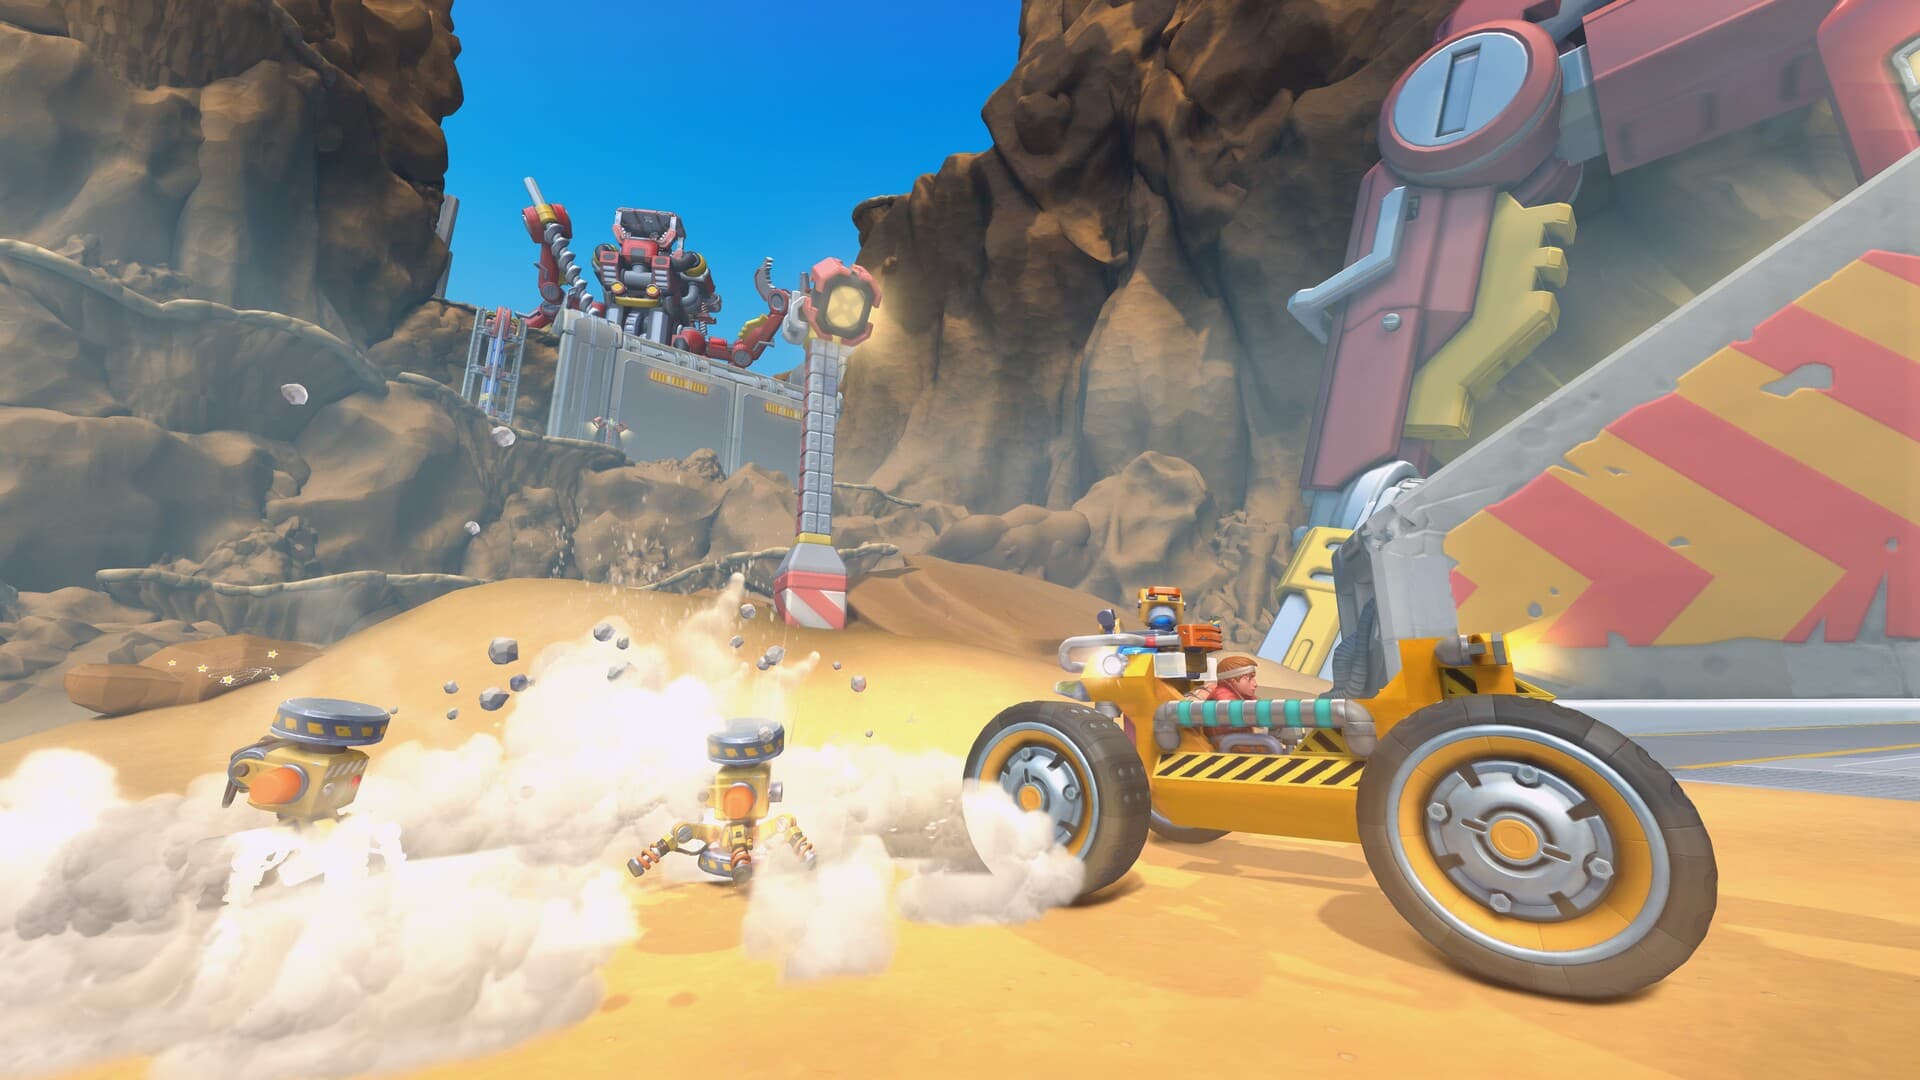
Start with the task: drive, haul, mine, water, harvest, defend, or automate. Each blueprint gives you a baseline size, part count, crafting cost, connection map, construction order, and pass/fail test before decoration begins.
Find the job you need, then check its baseline size, build time, working part, and difficulty in the same row. Each blueprint appears once, with one route to its complete construction file.


“Farm defense” is not one mechanism. Melee swarms test the impact lane, Tapebots test sight lines, Yellow Totebots test vertical clearance, and underground bots test whether a vehicle protects its working parts.
Haybots and Green Totebots reaching crop rows
Base defense gate ↗Create a repairable outer lane and keep moving parts behind the first impact line.
Tapebot fire crossing an open farm
Base defense gate ↗Add hard line-of-sight breaks; a taller open fence does not stop ranged shots.
Yellow Totebot jumping over a low barrier
Base defense gate ↗Move the valuable mechanism away from the roof line and test vertical clearance.
Cablebots attacking exposed vehicle parts
Mining vehicle ↗Shield the working-part mounts and keep a service side that can be repaired quickly.
Minerbots above a mining lane
Mining vehicle ↗Preserve overhead sight lines and avoid roof cargo that hides the approach.
Seed, produce, and Lootbot rewards mixing together
Vacuum harvester ↗Use labeled, independent chests for seeds, harvest produce, and field loot.
The building tools solve different workshop problems. Use them in a deliberate order: support, connect, test, relocate, then label.
Browse every tool →
Frames, wheel alignment, underside access, rollover recovery
Keep one reachable frame point after bodywork and cargo are fitted.
11 blueprints

Steering, engines, bearings, switches, Sensors, Controllers
Test one signal path at a time and reverse only the incorrect bearing.
11 blueprints

Moving a tested module onto a final chassis or fixed structure
Prove the module separately before welding it into a harder-to-reach space.
7 blueprints

Marking controls, movement zones, service points, and safe positions
Use the same color for the same function throughout one creation.
9 blueprints
A tool head defines the job; the chassis or structure only carries it. Keep power, movement, and storage as separate testable systems.
 Part file ↗
Picking up logs and resource pieces
Use in Resource Collector Truck - Separate Work from Transport → Part file ↗
Moving crops and items through connected containers
Use in Vacuum Harvester - Collect One Crop Row Reliably → Part file ↗
Delivering stored water across a fixed crop row
Use in Automatic Watering - A Repairable First System → Part file ↗
Powered mining on Excavation Island
Use in Mining Vehicle - Stable Tool Contact → Part file ↗
Short linear travel for gates, lifts, gantries, and tool heads
Use in Piston Elevator - Safe Stops and Service Access → Part file ↗
Detecting position or presence within a ten-block range
Use in Sensor Airlock Door - Controlled Entry →These machines extend a working build or production line. They are not replacements for the blueprints above: first prove movement, water, storage, or mining, then install the matching station.
Repair a vehicle far from the Mechanic Station
Portable Craftbot ↗4 × 3 × 3; durability 4 / 10; keep the interaction face protected and reachable
Add to a cargo hauler →Grow starter crops away from normal soil
Growbed ↗Only Cotton, Pigment Flower, Potato, Tomato, and Carrot; requires power and water
Plan the water system →Process Excavation Island ore
Crushbot → Prospectorbot ↗Crush raw ore first; the Prospectorbot stage needs crushed ore, water, and output space
Run the mining loop →Produce material-matched wedges
Sawbot ↗9 × 7 × 5 station; the inserted block chooses the wedge material
Prototype a vehicle body →Make ice blocks from a water line
Freezer ↗Water input only; keep ice output separate from liquid storage
Prove the pump first →Drive on steep walls
Sticky Wheel ↗Consumes Chemicals; tune grip with the center of mass close to the wall
Start from a stable scout →Aim a mounted tool or weapon through 360 degrees
Turret Seat ↗7 × 7 base footprint; leave the full rotating assembly clear
Separate aim from access →Rebuild a saved Creative or Workshop creation in Survival
Scrap City Garage ↗The 30-slot Garage Chest must contain every exact block and part shortage
Load and assemble a blueprint →Change one variable and repeat the same loaded test. Several changes at once hide the cause.
Center of mass, track width, speed, suspension travel
Lower heavy parts or reduce power before adding armor
Bearing direction, wheel contact, steering angle, frame flex
Raise the build and test each steering joint slowly
Contact angle, chassis mass, joint stiffness, driver visibility
Control tool pressure instead of ramming the target
Input state, connection path, collision, controller sequence
Return to manual movement and test one output at a time
Cargo position, suspension load, engine power, braking distance
Tune with normal cargo placed low inside the wheelbase
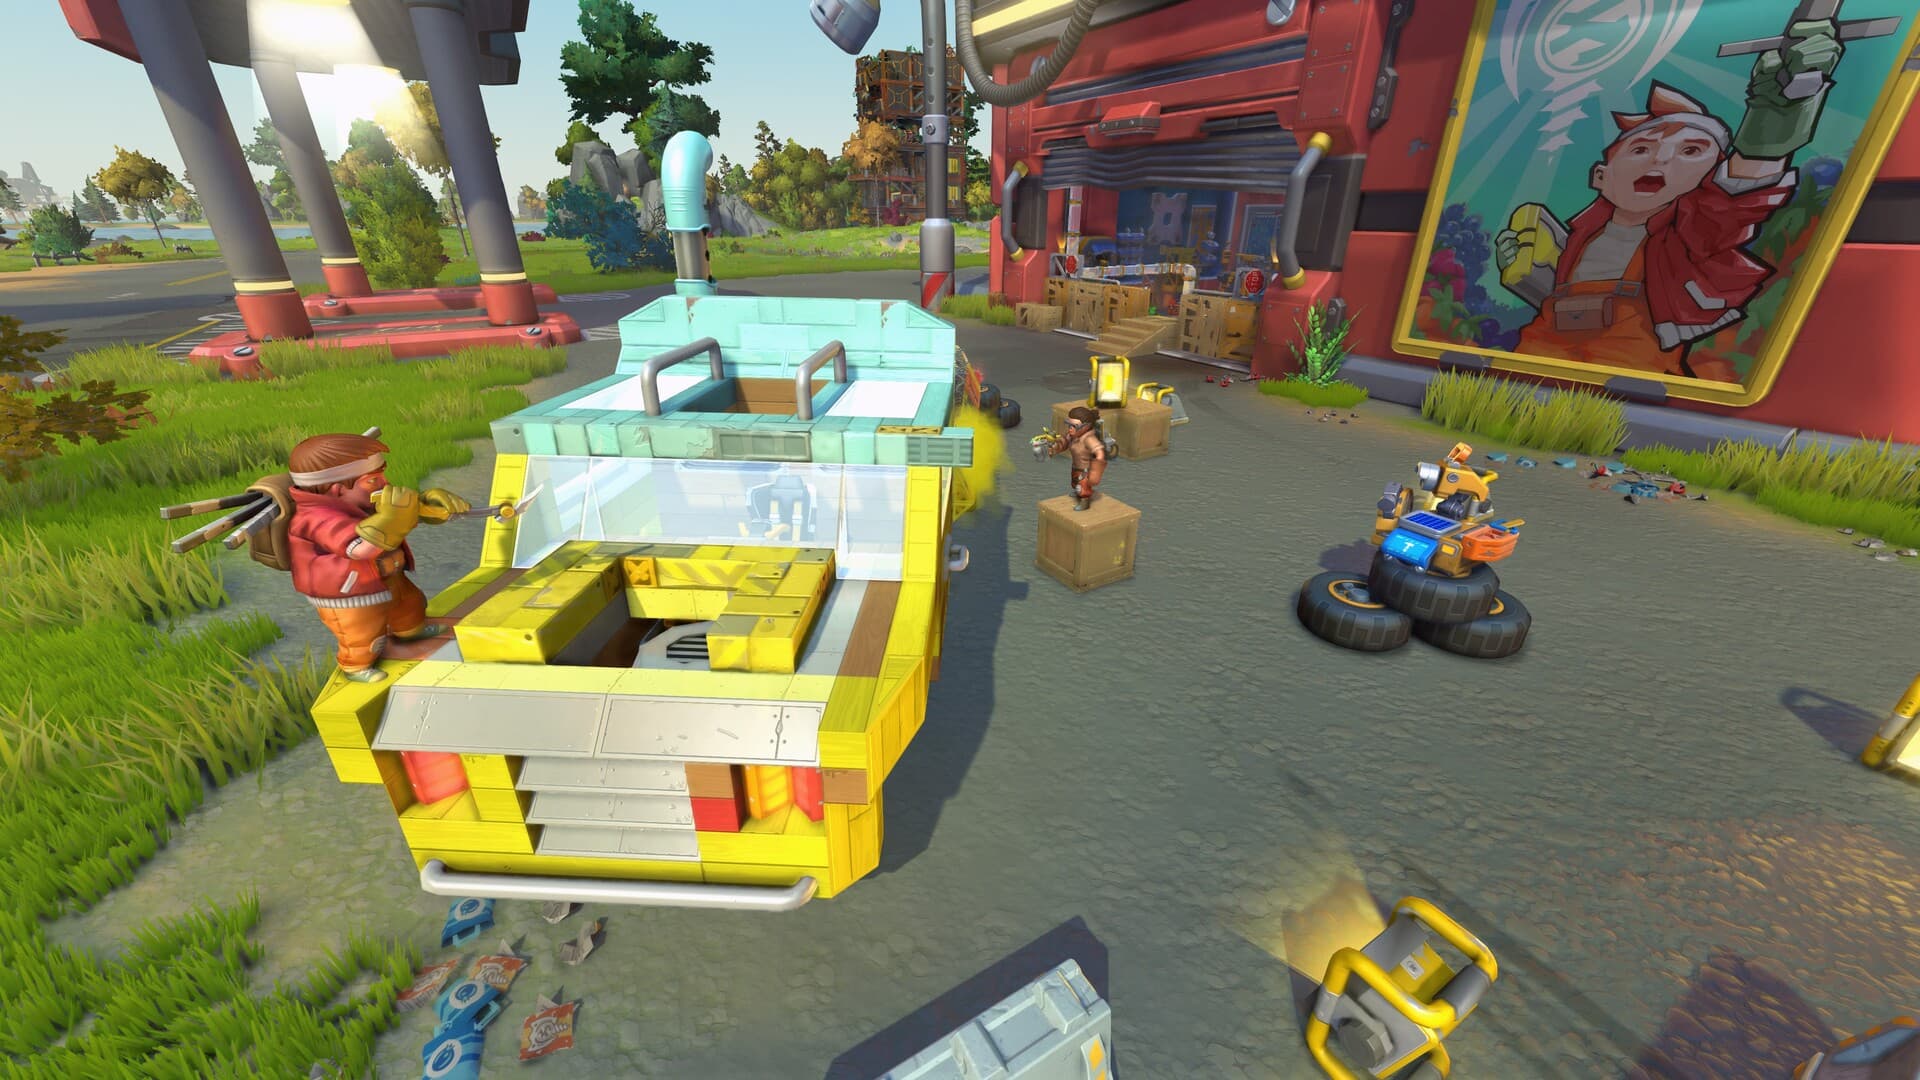
Build the 10 × 16 starter frame, align six Bearings, connect four Wheels, and prove steering at low engine power before adding a chest or body panels.
Build the starter car →